Showing posts with label DIY. Show all posts

Holiday DIYs to Try

The holiday season is here.  I know we have Thanksgiving this week and I am so excited for it! But I have just been ready for Christmas decorating, entertaining, gifting, etc. for the last couple of weeks.  This is my favorite time of year! I'm rounding up a few DIY projects that I have found online that I am dying to try. I love Christmas crafting and gifting.  Whether it's for me personally or for a gift for someone else, it just brings me so much joy.  Here are a few DIY projects that I have my eye on and am hoping to try myself! Please click through and enjoy each of these tutorials and the blogs they came from!

Oh Yay Studio
First up are these adorable felt Christmas bulb garland or ornaments from Oh Yay Studio.  I cannot get over how cute these are! I don't know where I will put these but I NEED to make these! They look so easy to make and add the fun festive touch to your holiday decor!

Carly the Prepster

The next DIY is one that I am dying to try! I have loved fun cocktail napkins for so long but find that they are always a little pricey if I want to get an assortment for no more than we would use them.  But now Carly has a tutorial on her blog on how to do these yourself! She is creating the prettiest little handmade gifts and I am here for it.  I am excited to get all the supplies and plan some of these for our bar cart but also LOVE the idea of creating them as gifts for other people! Handmade gifts can be so special and meaningful.

A Piece of Rainbow
I adore magnolia leaves so this tutorial on how to make a DIY magnolia leaf wreath is perfect! I have wanted to make/buy a magnolia leaf wreath and garlands for several years but have never found any that I truly loved and have never had time to try to create my own.  I just love the way they look for the holidays.  One of my favorite thing about our trips to Charleston at the holidays is their magnolia wreathes and garlands!  This DIY from A Piece of Rainbow makes me want to make one now more than ever! Now, where to find the magnolia leaves...

And here are some DIY ideas for gifts.  The holidays bring about a time to say thanks and give appreciation to so many including coworkers, the mail and delivery workers, neighbors, service providers (salon, lawn, etc).  I think a great way to treat people is to make some simple DIY gifts.  Here a few I have my eye on for this year.

The Pistachio Project
How adorable are these little gingerbread men bath bombs? So cute. The ingredients in these bath bombs have to create the most wonderful scent and they have benefits to your skin!  I love the idea of creating a spa gift and including these bath bombs in it.  We are all so busy this time of year so it's a good way to remind those we love and care about to take some "me time."

Hoosier Homemade
I am a big fan of hot cocoa in the winter, especially around Christmas! This gift idea from Hoosier Homemade is so fun and so simple! I always pick up some add ins for hot cocoa for our house around this time of year.  Why not turn that idea into a gift?  You can get supplies and make several of these gifts to hand out! You can even customize these to each person if you know some of their preferences! 

Twelve on Main
If you love the classic scents of the holidays, you'll want to make this potpourri gift! Wyatt and I put together some stove-top potpourri kits for his parents and grandma a couple years ago and they were not nearly this cute! This potpourri looks like it smells amazing and I'm tempted to make some for our house this week!

Master Bedroom Update DIY: Annie Sloan Chalk Paint

Before and After using Annie Sloan Chalk Paint

We are working on the master bedroom in the house.  The first project that I started on for the update is painting the dresser and eventually the chest of drawers too.  Once I decided we could update the furniture with paint, I did a lot of research on chalk paint.  I watched video tutorials, read up on techniques, and researched the types of paints and waxes. We decided on using Annie Sloan as our friends had used it to paint their kitchen cabinets and raved about it.  I found a store downtown that carried the paint and Wyatt and I met there one evening after work to check it out.  First of all, Bella Beige has so many gorgeous pieces of furniture for sale that I wanted them all.  Second, the owner was so kind in giving us tips and tricks.  She even demonstrated how to do the wax coat.  I went in interested in Amsterdam Green but she didn't have anything bigger than a sample on hand of it so we looked at the other options including the custom mixed colors and ultimately decided to go with one of those custom colors rather than wait for the Amsterdam Green to ship to her.  We felt the custom color worked better for what we were looking for with the room anyway.

Before and After using Annie Sloan Chalk Paint
Before

Chalk paint is great because it requires very little prep work on your furniture.  I simply cleaned the furniture using a cleaning agent the owner of the shop recommended since we were unsure of how much the piece of furniture was cleaned/polished with things like pledge that would leave a residue.  I also used wood filler to fill a few scratches and other dents.  I sanded a little with the filler but other than that no sanding!
Before and After using Annie Sloan Chalk Paint

Before and After using Annie Sloan Chalk Paint


Sox thought he might be able to help out....but no cats allowed! Since the paint has no fumes to it, I was able to paint this piece in the room so we just kept the door closed while the project was in progress to prevent cat hair from getting into the paint, wax, or on the wet painted furniture.  I painted the first coat of paint on Saturday afternoon.  The paint goes on easy and a little paint goes a long way.  I chose to take my drawers out and paint them individually but so many leave them in while painting.  That would really cut down some of the time it takes for each coat.  Even with doing them individually it was a breeze and never took more than about an hour and half to get a good coat of paint on all of the pieces.
Before and After using Annie Sloan Chalk Paint
First coat of paint.


I put the second coat on Sunday morning.  It's amazing how much coverage the second coat provides!  
Before and After using Annie Sloan Chalk Paint
Midway through the second coat of paint.
Before and After using Annie Sloan Chalk Paint


We decided we didn't really want to distress the piece at all so I put a wax coat on it on Monday after work.  We buffed it out on Tuesday evening and it was ready to use. I can't believe how easy this paint is to work with and how great the piece looks now!   I was too excited to see it all put back together and placed the hardware back on before it has been cleaned but we will also clean those up too.

Before and After using Annie Sloan Chalk Paint
Midway through the wax coat

Before and After using Annie Sloan Chalk Paint


I cannot wait to work on the chest of drawers and start putting the room together! We purchased a new headboard and the most gorgeous new lamps for the room. We hope to be able to pull it all together in the next month or so!


How to Create a Candy Buffet


Today is my dear friends' 2nd wedding anniversary so I want to start this post by wishing them the happiest of anniversaries! Their anniversary had me thinking back to their wedding day.  Jen asked me to create a candy buffet for their guests.  Jen and I met a couple of months prior to their big day and worked out a game plan but I wanted to share some tips on the process.  


1. Pick a Theme
First you will need to pick a theme.  This could be a simple as matching the colors you have picked for your event or it could match your party theme.  This will be the central concept for your buffet so take a minute to envision what you would like the final product to look like.  For Jen & Billy's buffet she decided she wanted to stick with colors of her wedding: mint, pink, and gold.

2. Candy Selection
This is the fun part!  There are so many great candies that you can get in bulk.  If you don't have stores close by that sell a variety in bulk, there are several online retailers where you can find just about anything you want.  

When it comes to buying candy and figuring out how much you need, keep a few things in mind.  You should expect to buy about half pound of candy per guest.  For example, if you planning to have 100 people at your event then you should purchase at least 50 pounds of candy. This is something to keep in mind when setting a budget.

 Another thing to remember when selecting your candy is allergies.  If you don't personally know all of your guests, then it might be wise to steer clear of any candies that contain nuts.  And lastly, take into consideration the location of the event.  If it's outside, candies such as chocolate or taffy might melt.

3. Candy Containers
Shopping for candy containers is so fun!  Jen was lucky to have been given some supplies by a friend that we were able to use for her candy buffet.  We used 5 of the round glass bowls so we already had a major head start on gathering containers.  

I think the best place to shop for containers is at thrift stores!  I found a few of the additional pieces used for Jen and Billy's buffet at local thrift stores when out shopping with my mother one day.  You can find the cutest and often times unique dishes and containers at thrift stores and most of the time at a fraction of the cost of purchasing new.  If you don't have any luck at the thrift stores, you can usually find some reasonable priced apothecary jars online or at stores like Hobby Lobby, Michaels, and Joann's where you can also use coupons and TJ Maxx, Marshalls, and Homegoods!

I also used a variety of items I had already, like the gold charger and a couple of the small glass dishes.  Don't be afraid to look at what you already have and envision different uses for those items.  


4. Table Decor
Now that you have your candy and containers, you will want to dress up your table.  Think back to the theme you chose and choose some accent items that will really show off the candy buffet.  For Jen and Billy's buffet, she had a tablecloth ready for us from the venue to match her reception decor.   I picked up some coordinating small frames to use for signage with the candy name/type listed on it so all was labeled.  I also created some custom signage for the table display that played up the candy and their love for Dave Matthews Band (how they met!).  You can also accessorize items like candy scoops.  I added some pink and gold ribbon to the handles to add a little something extra.  I also ordered two acrylic Dave Matthews Band fire dancers to attach to the bottom of the giant martini glasses.  They turned out so cute.  It was just another thing to add a cute little touch that also reflected on the couple's love story.  The florist for the event also added some fresh flower arrangements that tied everything together with the bridal party flowers and table centerpieces.

I created height on the table to add different levels by using a box, an extra shelf from my desk, and a piece of gold fabric.  You can create multiple heights to draw the eye to different points by using varying heights of boxes covered in fabric.  


5. Favor Bags or Boxes
Don't spend so much time looking for the perfect candy and table decor that you forget the favor bags or boxes!  Guest will need something to put their treats in so this is a very important part.  It is wise to pick a small to medium size bag or box.  The larger you go, the more guests are encouraged to take and you do not want to run out!  There are so many great resources out there for these now.  Not only can you find them at many local stores like Target, Walmart, Hobby Lobby, but there are also many great online resources that will allow you to find exactly what you are looking for and in bigger quantities than the local stores.

I found a deal on gold chevron paper bags on Etsy that measured 5 x 7.5 inches long.  I thought they were a great size.  Not too small but not too big either.  I found a wire basket at Goodwill that I spray painted gold and voila, I had a container to place my bags in that looked pretty and matched the theme.

Again, happy anniversary to the happy couple! I had so much fun working with Jen to add to her special day and I had so much fun celebrating the happy couple!


DIY: KSNY Inspired Ornament


I found this tutorial via pinterest for a DIY version of these darling Kate Spade ornaments. I found plain white porcelain ornaments at Michaels that already had gold hardware.  I simply bought a black paint pen that was located in the same section to do the lettering.  This project took barely any time at all and I was done.

For another tutorial on these and other similar Kate Spade ornament, follow this link. 


Halloween


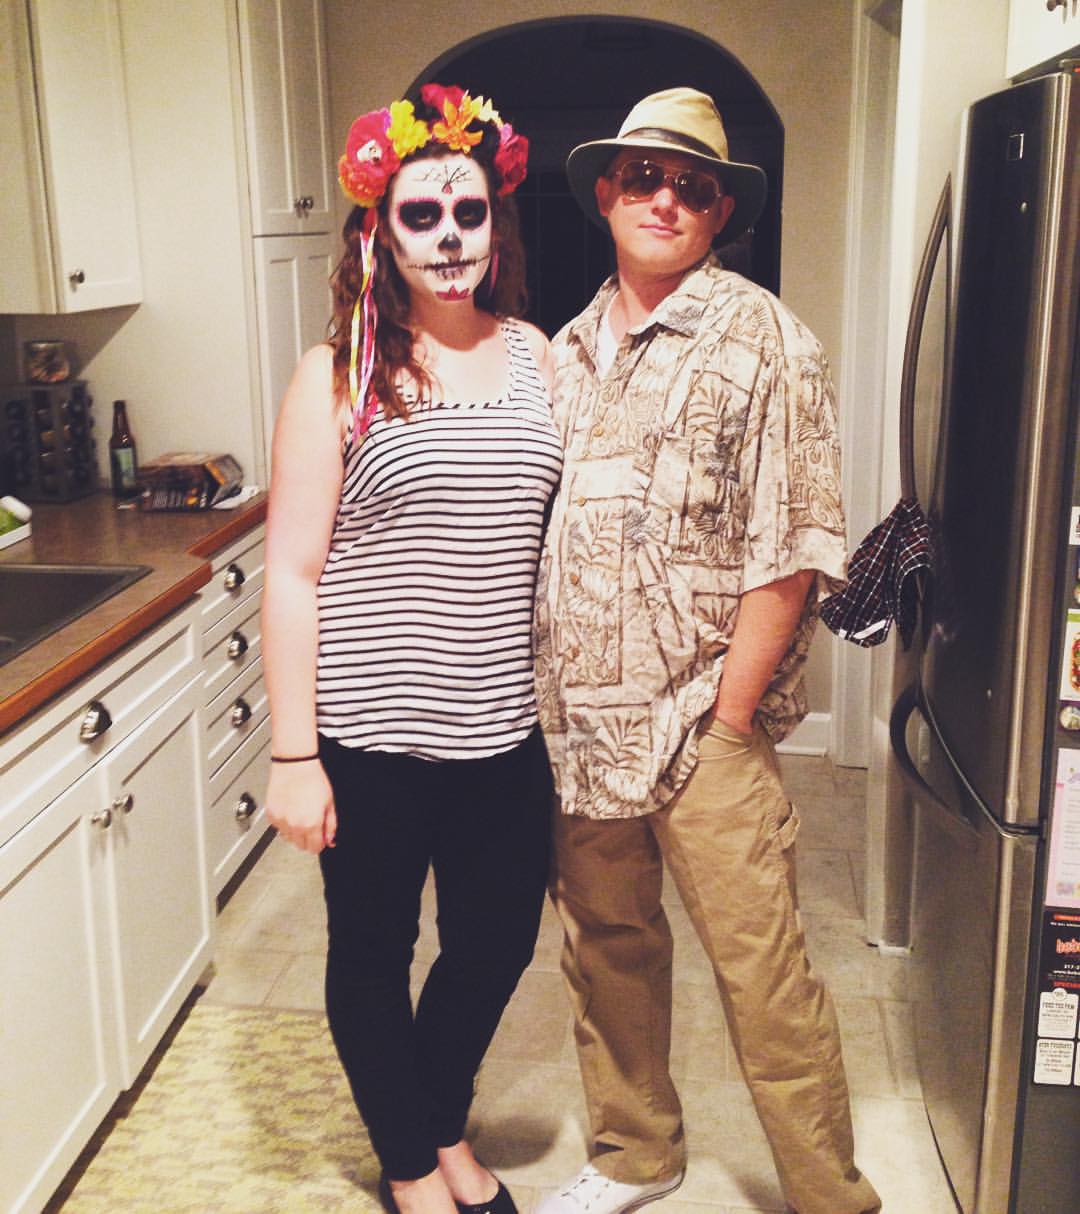
Wyatt and I spent Halloween night in Indianapolis celebrating with Heath and Kathleen.  As you can see, I attempted sugar skull makeup and Wyatt did his best Hunter S Thompson from Fear and Loathing.  We had dinner and drinks at the Sinking Ship before going to the Red Key Tavern.  Before heading back to Lafayette, we grabbed a quick brunch at the Aristocrat.  It was a great quick trip to Indy.  I really enjoy the Sobro neighborhood.  I can't wait to get back down there and explore some more.

Eat Cake for Breakfast: Kate Spade Inspired Birthday Celebration

Yesterday, my family met in Indianapolis to celebrate my mom and my sister's birthdays which are coming up this week.  I decided that I would take over on the treat making so neither one of them would have to make something since we were celebrating both of their birthdays.  Needless to say, I spend my evenings last week coming up with decorations and goodies for a proper birthday celebrations.

You may have noticed in my last post, I had a Kate Spade inspiration board on Pinterest.  I put that to good use this weekend with this celebration for mom and Allison.


I decorated Allison's dining area to the nines in pink and gold and black and white.  I made a tassel garland, had gold glitter flags for the paper straws, and made two custom Kate Spade inspired prints with quotes from Kate Spade.  Allison had the perfect plates and napkins to go with all my stuff!

Allison requested I make her cactus shaped sugar cookies, so I also made her a cactus garland (and also a cactus cupcake that is hidden behind the ALLISON candles).  I found a ton of great things at Michael's including the hello darling gift bags, the pink jump clothes pin, and the black and white lanterns.  I had so much fun creating and crafting all this pretty decor.  It turned out so pretty.  I wish every day was a Kate Spade inspired party.

Ps.  How cute is that bulldog cookie jar I gave my sister?  I'm obsessed with the little guy.  Such a great Target find.


Tutorial: How to Create Your Own Handwritten Font

I am always searching for new fonts.  I love, love, love finding the perfect font a project I am working on (bonus if it's free)!  I have many different handwritten fonts and one of the reason I have contemplated getting a tablet is to create my own.  I still haven't caved and gotten one (because I don't think I'd get enough use out of it to justify the expense) but luckily there is a site that has a simple process to create your own handwritten font...for free!

My Script Font offers this incredibly easy and free service.  Click over to their site and follow the instructions below to have your very own font perfect for all of your design needs!  Just remember that this font will not be open on other computers unless it is installed on the other computer as well.


Party Spotlight: Carter's IU Themed First Birthday

Last weekend my best friend hosted the most darling little birthday party for her son's first birthday.  She is clearly a super momma because she thought of so many great details and executed them flawlessly.  So much love for this IU themed party!  When Devin first told me she was having Carter an IU themed first birthday party I was thrilled.  She had so many great ideas envisioned for the party.  She enlisted me to design a few prints she used throughout her house and wish cards for guests to fill out.  I absolutely love the way the future Hoosier print.


Devin did so many DIY projects to add special touches to the decor.  She made all kinds of banners, poms, ribbon topiary and a ribbon wreath (sad I didn't get a picture of the wreath), cupcake toppers, straw flags, etc.  Carter's party was complete with a huge spread of yummy sweets and a popcorn bar!  Devin even made his smash cake with an IU logo on top.  


Wyatt and I had a great time seeing Devin, Jake, and Carter along with several of our friends.  And Carter was just too cute for words.

Since Devin had mentioned Carter's party months before, I had plenty of time to create my favorite project to date.  I'm really happy and proud with the outcome of Carter's present.  When Devin first told me about the theme, I thought it would be cool for a kid's birthday party to incorporate an IU themed ABC's into the party somehow.  Ultimately, that idea never made it past me picking out my own ABC's of IU.  They were too good to let go to waste, so I decided to make Carter a book for his birthday!  I designed it and had it printed through Picaboo.  I highly recommend Picabook.  It was easy to use and the product was excellent.


My heart melted when Devin posted this picture in celebration of the first game of the season for our beloved Hoosiers.